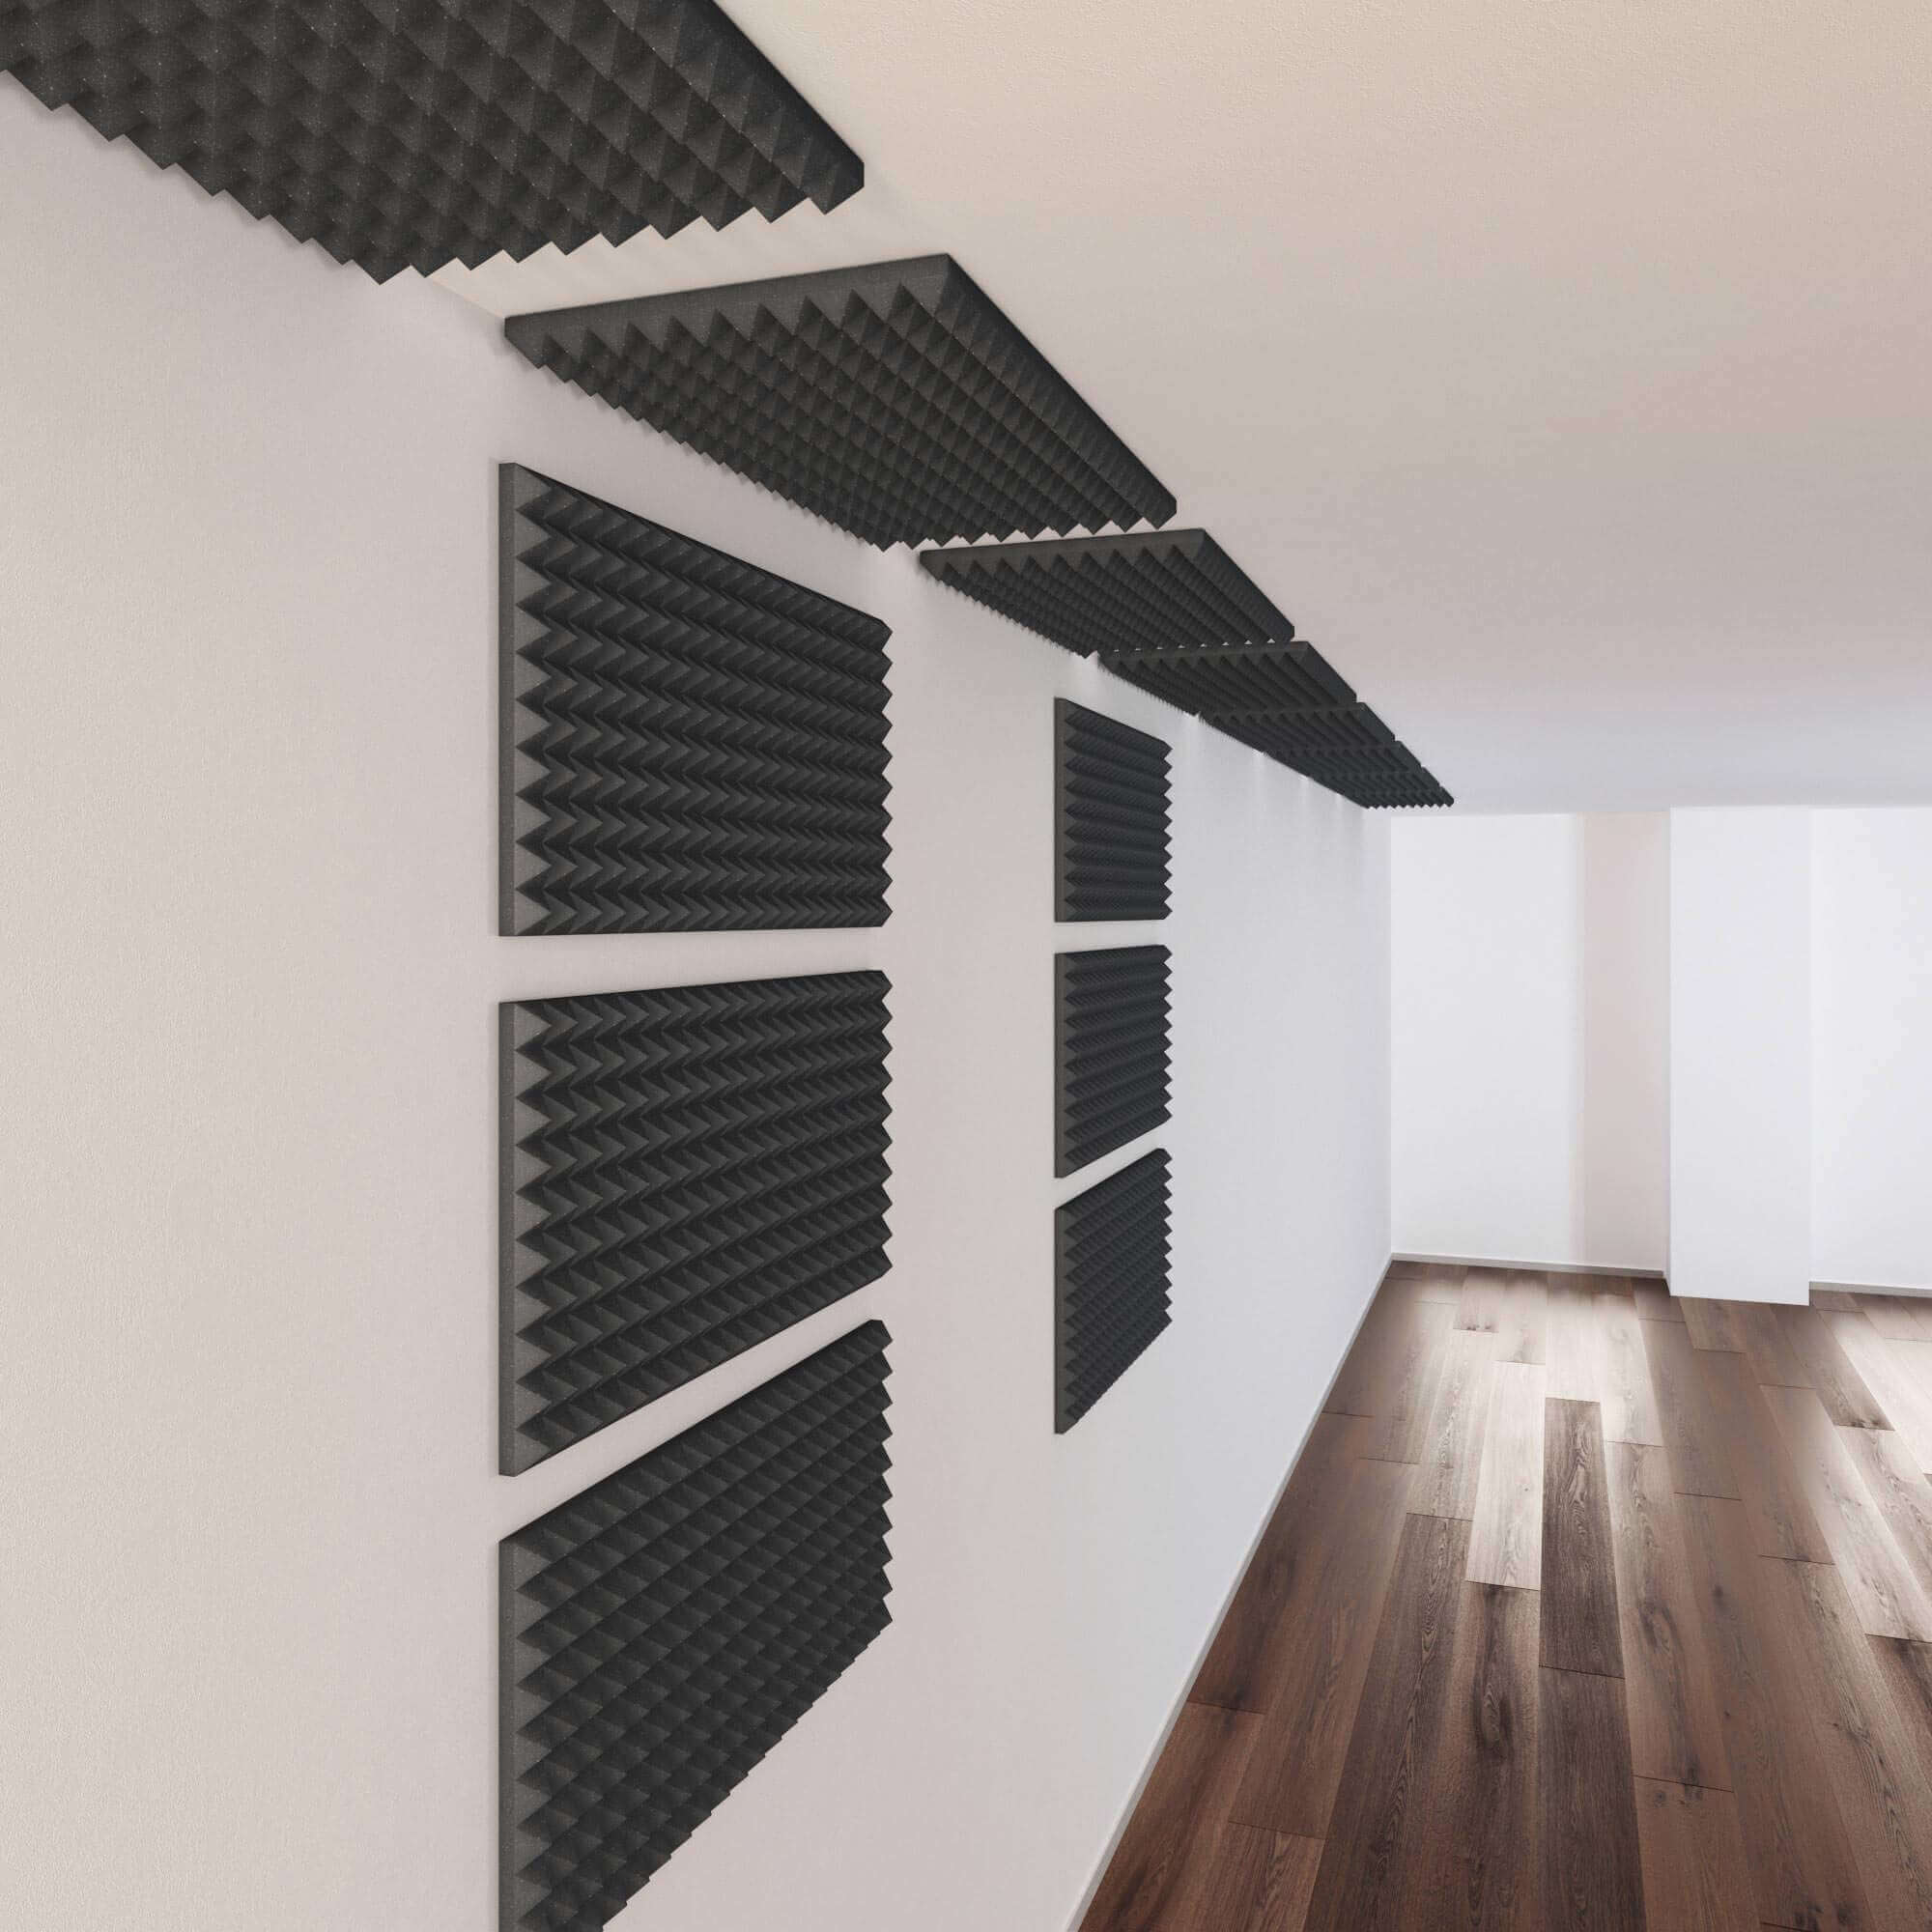
If you don’t have good acoustic treatment in your room, it can be impossible to achieve great results when recording audio.
For this reason, a lot of music producers are looking for acoustic foam because it is a great solution for controlling sound in your room without damaging your walls.
But you might be wondering:
Where should I put acoustic foam so that it could take the best effect?
Well, in this article, we will cover all the details where is the best position to place it step-by-step.
I will start to explain from most important areas to least important so that if you don’t have enough acoustic foam, you better put it in the essential places.
In front of yourself – Avoid early reflections

Put the first block of acoustic foam in front of your working space.
The main reason behind it is:
This is the space where the early reflections will be coming from.
If you have a very limited amount of acoustic foam, put the block at the very centre in front of your workspace. You can set a few more on top of the first one if you have more.
If you are able to invest more in your room treatment, then make sure to cover the whole front wall. That would give you the best results.
Top Corners – Bass Trapping
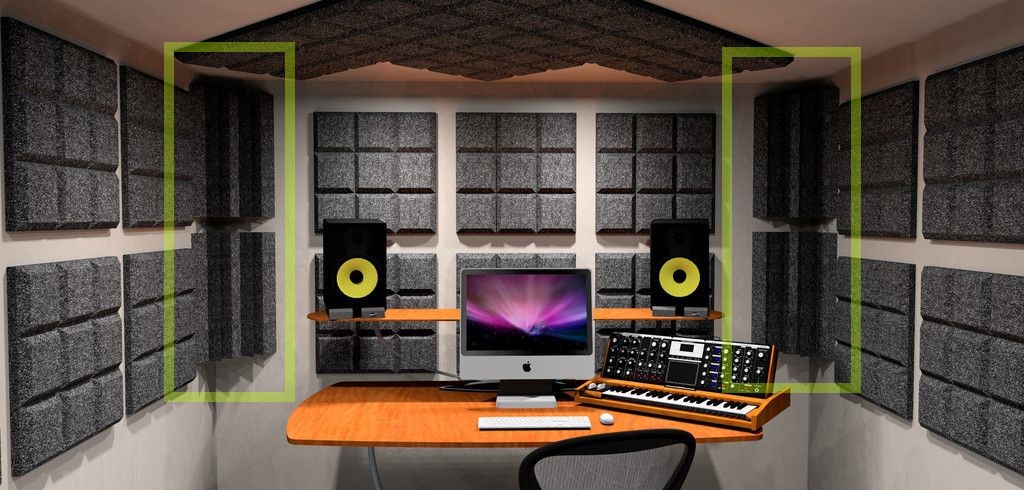
This step is also called bass trapping due to the fact that all the low frequencies tend to gather in the corners. So corner acoustic foam solves this problem.
If you don’t have a lot of acoustic foam corners, the most effective spot to cover is the very top of the corner.
If you are able to do better, then the best-case scenario would be if you could cover all the corners from top to bottom. It would perfectly absorb low frequencies and would make your recording sound clean and solid.
Side Walls | Y-Axis and X-Axis

Y-axis placement recommendation:
The best place to set acoustic treatment on the side walls is at your ear level.
We don’t want to waste acoustic foam by putting it too low or too high. On average, put the first acoustic foam about 2 feet from the ground.
X-Axis placement recommendation
You should aim to put around your working space, not too far from it.
Another tip: Spread these panels sideways. In this way, it should take the best effect on echo absorption.
Ceiling – Place it over the recorded sound source
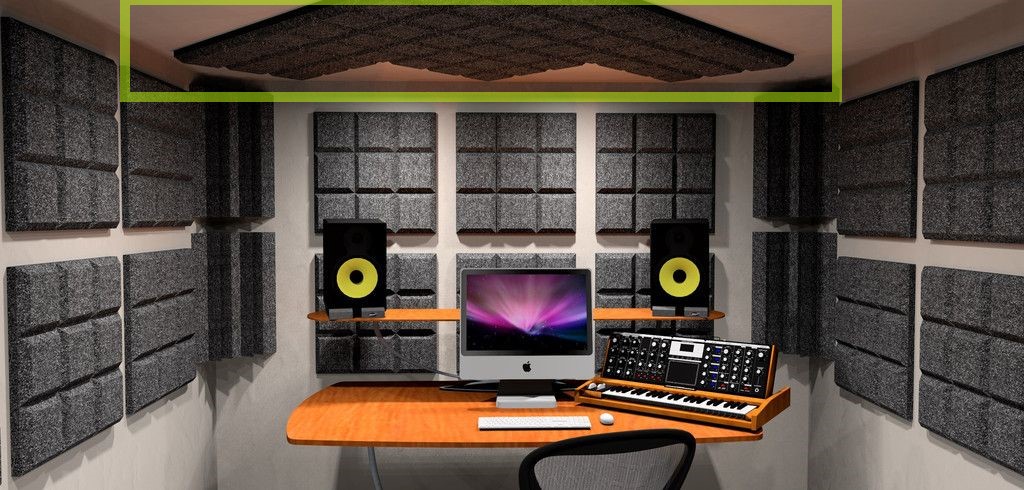
If you can still hear an echo when the front, side and corner sides are covered, make sure to put acoustic foam on the ceiling.
The spot of where to put it exactly depends on what you are trying to achieve.
Here’s the deal:
If you are recording drums, then the best place to put acoustic treatment would be closer to the instrument itself (sound source).
If you only record vocals at your desk, then put it over your microphone, since the main sound source is yourself.
The same applies if you are not recording audio, but only want to have a better sound in your room. Foam placement over yourself will help you to control sound waves that come to you.
In the back – Diffusion
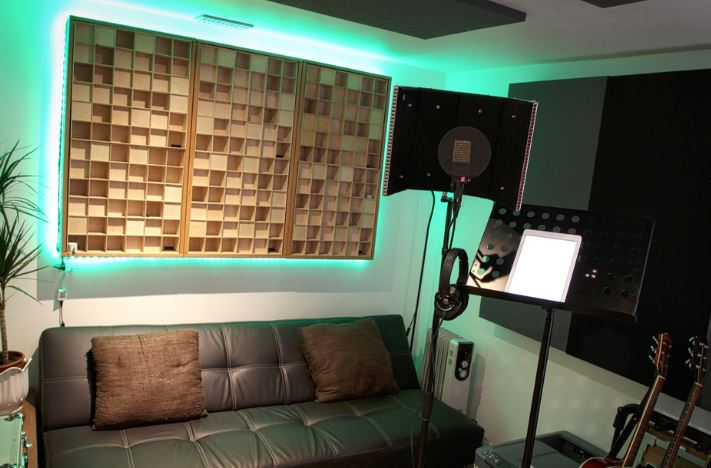
Room treatment that takes part at the back of your studio is usually handled with diffusion.
Here’s why:
All the major treatment with sound absorption is done in front of the studio.
Diffusion creates the reverse result and makes a perfect complement part to the sound treatment in your room. It does not remove sound energy but reflects it in the varying spectrum.
The result:
It leaves a live space sound and still handles distinct echoing, reverb, delay effects by diversifying soundwaves in the room.
Cheaper Alternative
If you are not willing to invest money in professional diffusor, a simple shelf can help to achieve a similar result.
So if you have any shelf that can be moved in your studio room, make sure to do that
How to mount acoustic foam without damaging your walls?
Not everyone is allowed to crack walls with hammer and nails or use glue spray that later on can take off plaster when removing panels.
So we need a solution that could work without damaging the wall.
What can you do:
If you are using regular polyurethane acoustic foam, you can simply use sticky strips to hang the panels.
They are lightweight, so you can use only two strips and stick it on the top side corners of acoustic foam if you are putting it horizontally.
What are the benefits of room treatment with acoustic foam?
Acoustic room treatment is the first step in order to have a professional and clean sound in your room. Dave Pensado, Grammy awarded sound engineer says that room treatment is more important than studio monitors itself.
You can buy a 200.000 $ set of monitors, but if you don’t have your room treatment set right, you will be very disappointed.
Dave Pensado
Here are the main advantages of using acoustic foam:
- Absorption panels will remove all the echo, reverb and your recorded audio will sound solid, rich in frequencies and pleasing.
- It will be easy to modify or adjust reverb later on in the post-production phase. Working with muddy, dirty sounds are almost impossible if you want to achieve a great sound.
- You will start to hear an accurate and truthful sound. When sound waves bounce off the surfaces of your room, it creates different feedback to your brain of how it sounds. So you can make a lot of mistakes just by not having acoustic panels. Thus, acoustic treatment will control the sound waves in your room so that you would be able to hear the real sound and make correct decisions when mixing, mastering or producing music.
How much does acoustic foam cost?
Prices vary due to different quality, design and scientific calculations behind it.
If you are a beginner, I would recommend you to use cheaper acoustic foam options, that are usually easily found on Amazon, like this one.
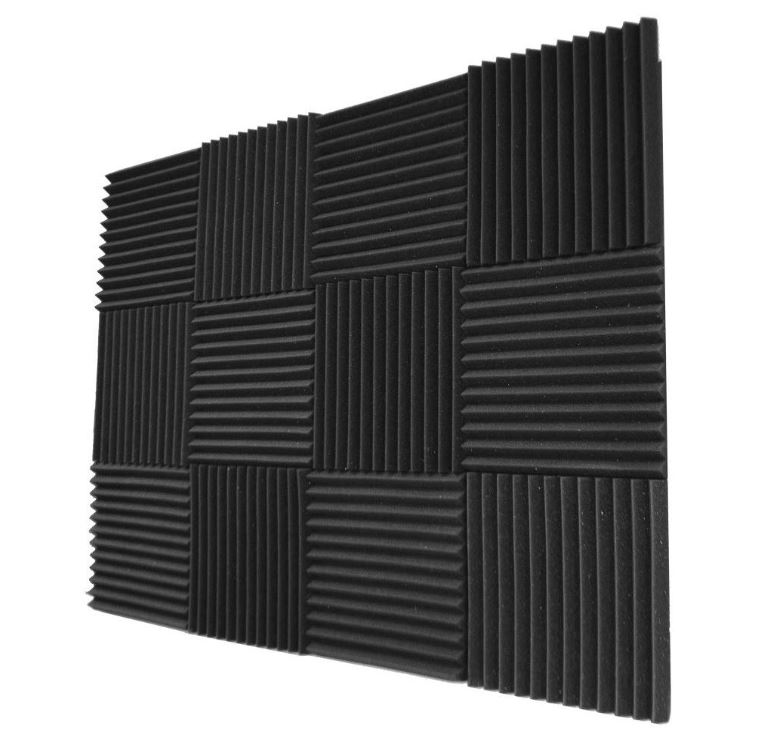
Acoustic foams are usually sold in packages.
1 square foot usually costs between 1-2$.
The overall acoustic treatment will vary depending on your room space and size. All the estimations, measurements and price calculations will have to be done by you or an acoustic architect.
Acoustic foam vs acoustic panels. Which one should I buy?
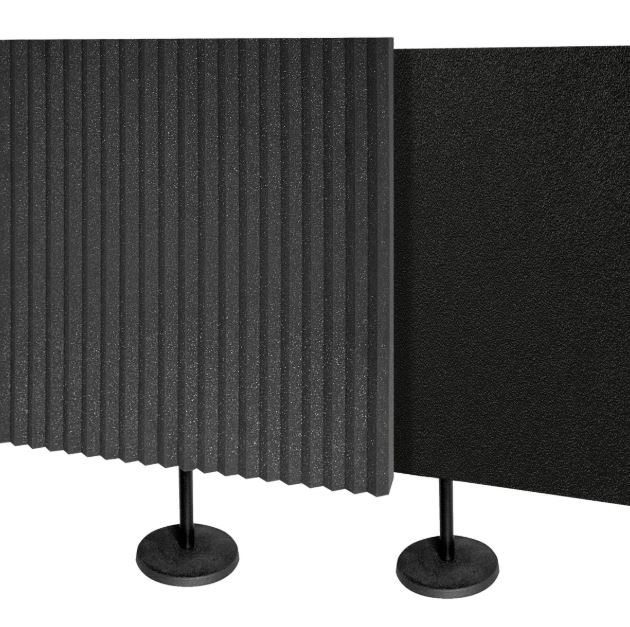
Acoustic foam:
Less effective than acoustic panels. But acoustic foam is easier to set up and do not damage the wall and absorbs sound as well.
Acoustic panels:
More effective, but it is much more expensive and harder to set it up. In addition to this, it will damage your wall since you will have to hammer nails to hang these panels on the wall.
My personal take:
If you have a bigger budget, go for acoustic panels
If you have a limited budget, the acoustic foam will do just fine if you place them correctly.
Conclusion
That’s it about acoustic foam placement. I’ve described the best places to put acoustic foam and different scenarios for low and high budget producers.
Moreover, I’ve covered some extra questions about the benefits of acoustic treatment, costs and how to place it without doing any damage to your walls.
I hope this article has helped and I wish you to have great recording sessions.
Trackbacks
[…] To learn more about acoustic treatment make sure to check this article. […]