
Midi files are the sheet music of the 21st century. They are files which often contain the chords, bass lines, drum beats, melodies, etc. of any song.
How MIDI files can improve your music production?
Well, they are a great tool for beginners in music production who want to know how drum beats, basslines, melodies, and chords of any kind of genre are structured. Aside from that, they give you the freedom to experiment a little and remake or remix popular songs. You won’t have to come up with a new melody or a new chord progression from scratch and can even get some inspiration for your own project when you use midi files.
With that being said, here is how you import Midi files in FL Studio:
Import MIDI files to FL Studio
Step 1:
Download some free midi files from the internet or purchase midi sample packs.
All you have to do here is to simply type in something like ‘EDM Midi files download’ in the Google search bar and you will come across an abundance of sources.
Just pick the ones you like.
Once you have downloaded some midi files, continue with step 2 in this guide.
Step 2:
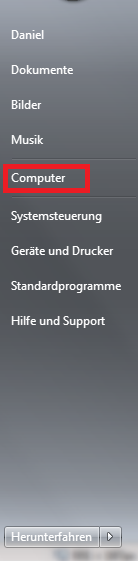
• Go to Computer.
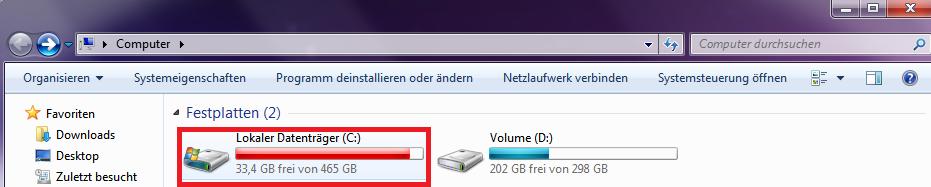
• Click on the HDD or SSD where you have installed FL Studio.
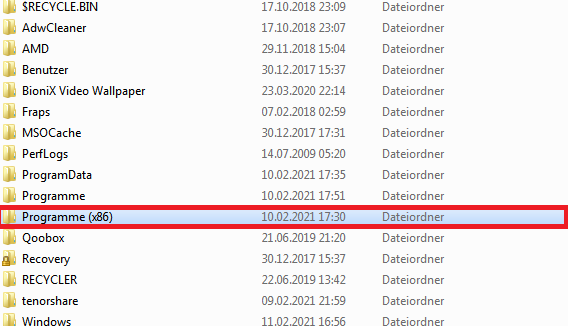
• Open the ‘Programs (x86)’ folder.
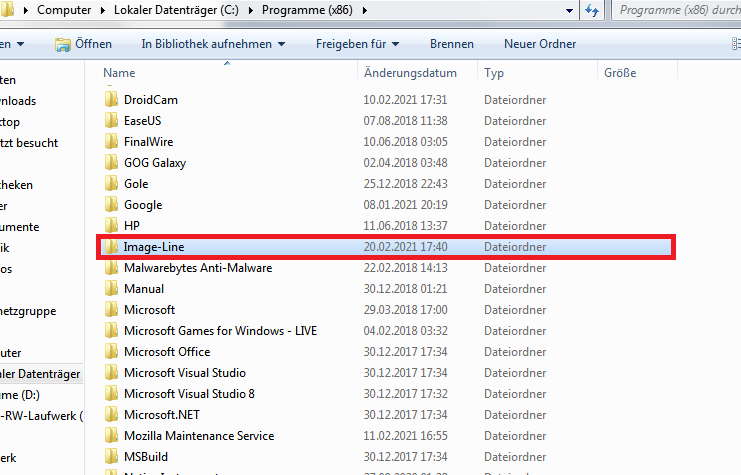
• Open the folder ‘Image-Line’.
• Click on ‘Fl Studio 20 (or whatever version of FL Studio you have installed).
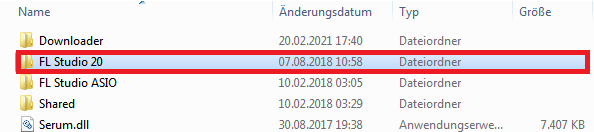
• Open the ‘Data’ folder.

• Click on ‘Patches’ and then ‘Packs’.
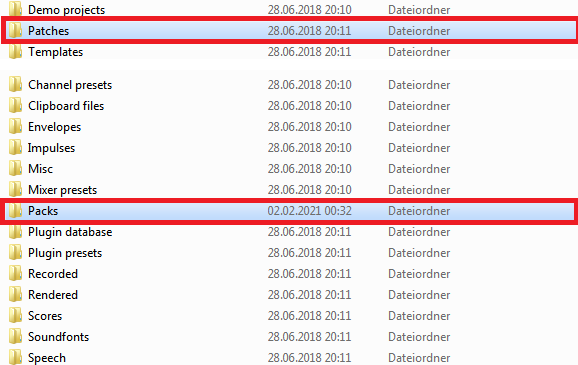
• Create a folder and name it ‘Midi’ if it doesn’t already exist.
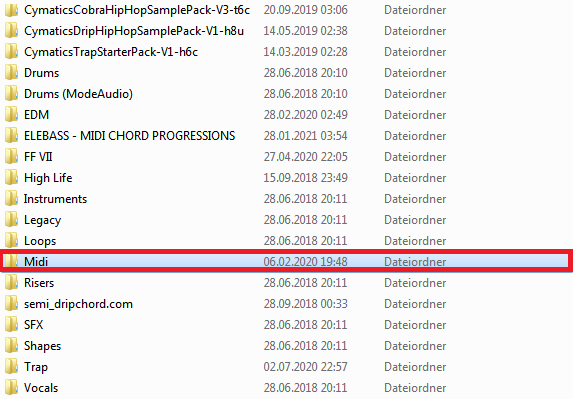
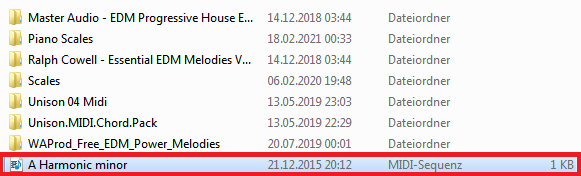
• Drag and drop or paste your Midi files there.
Step 3:
• Open FL Studio.
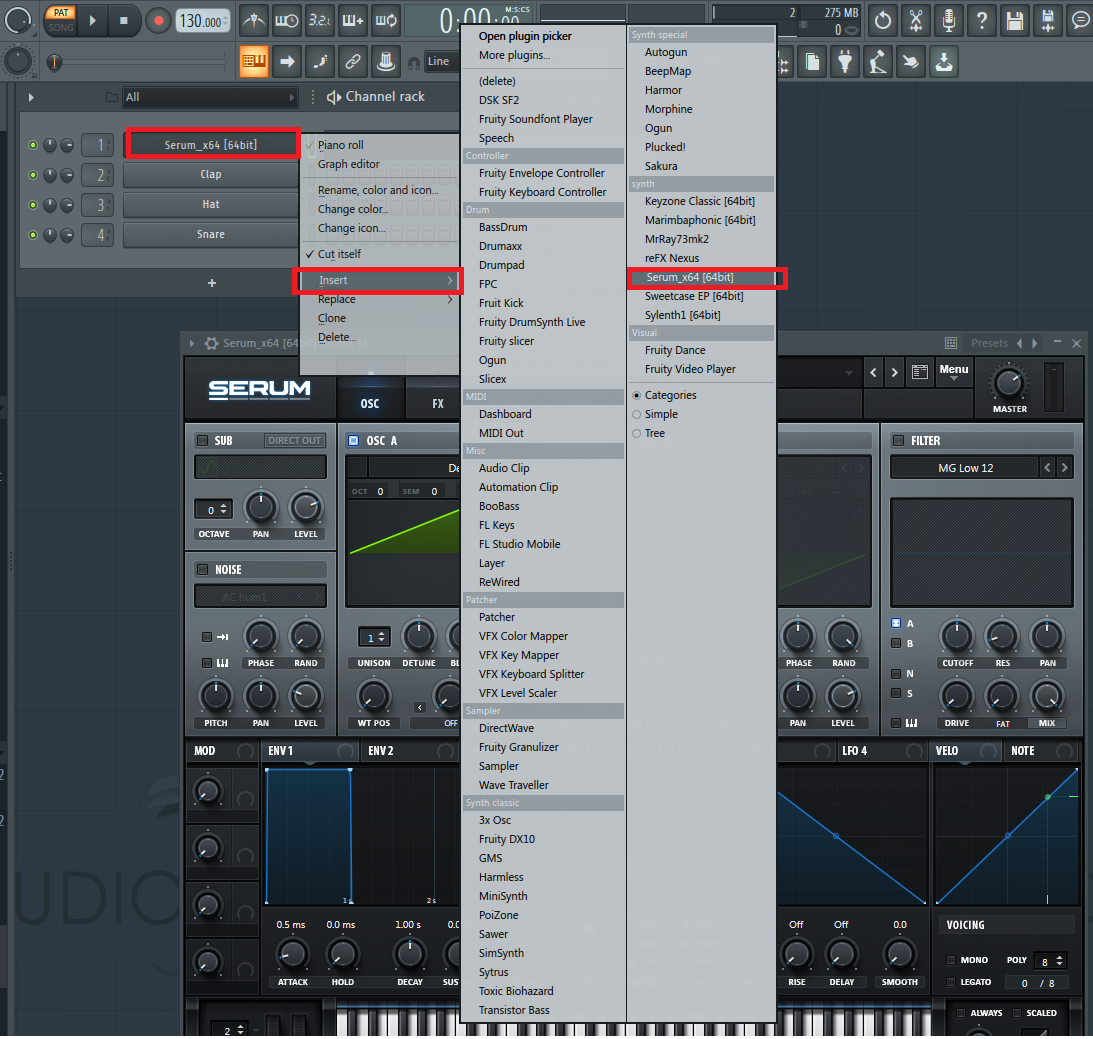
• Right-click on the channel rack buttons, go to replace or insert and open the VST of your choice. For this guide, I will be using Serum.

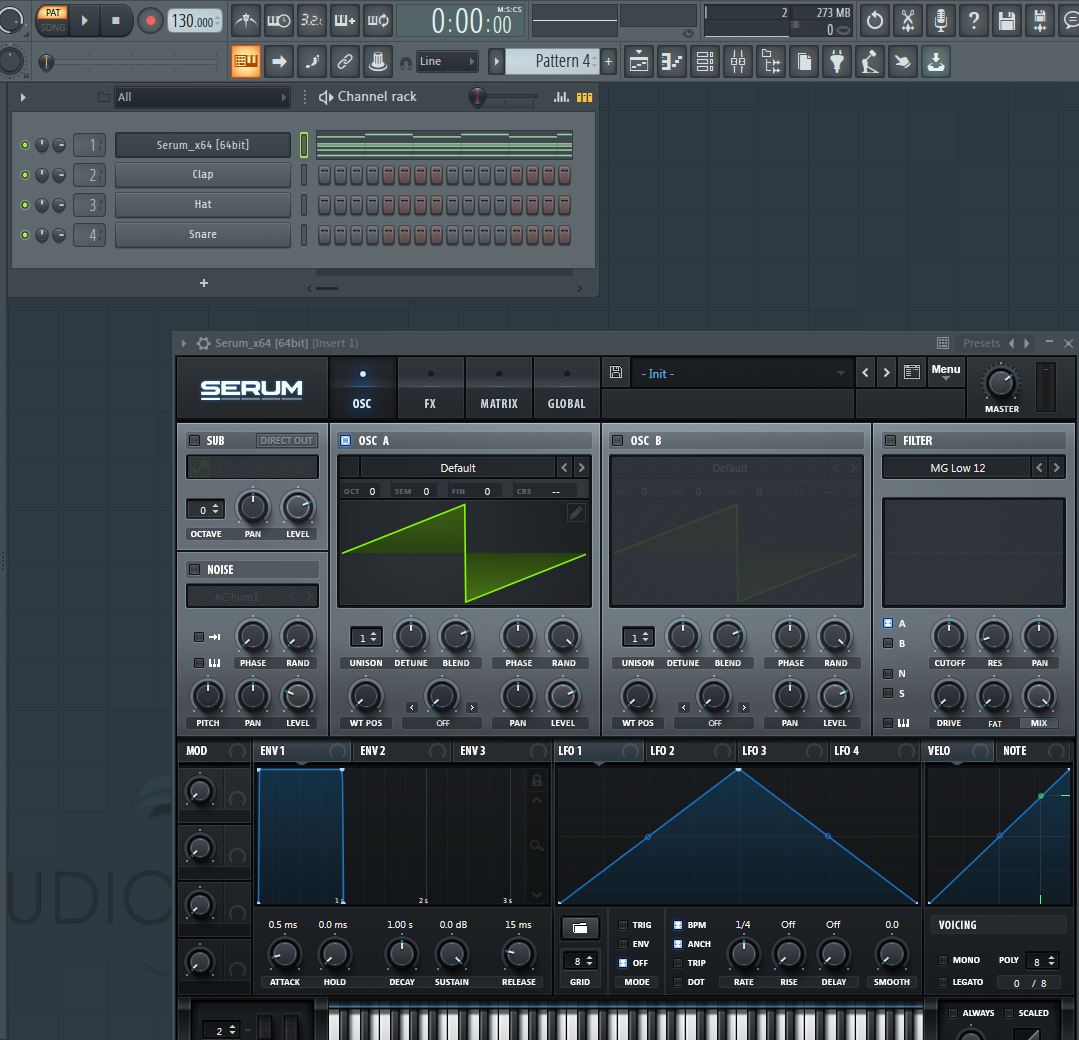
• Once the VST is open, open the midi folder within FL Studio and drag and drop your midi file into your VST in the channel rack.
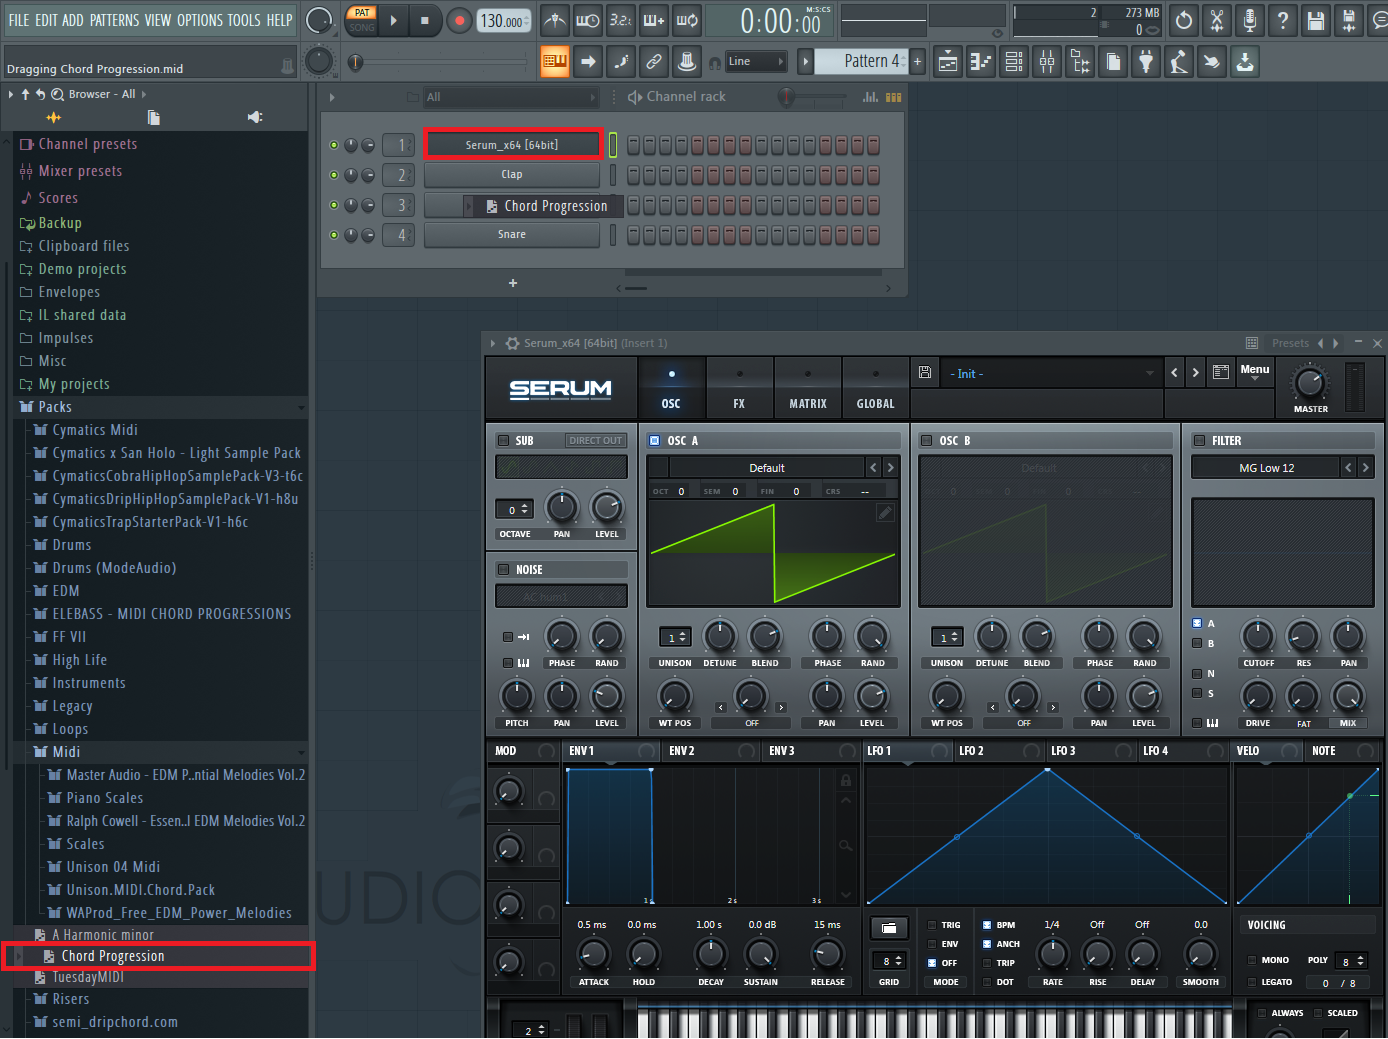
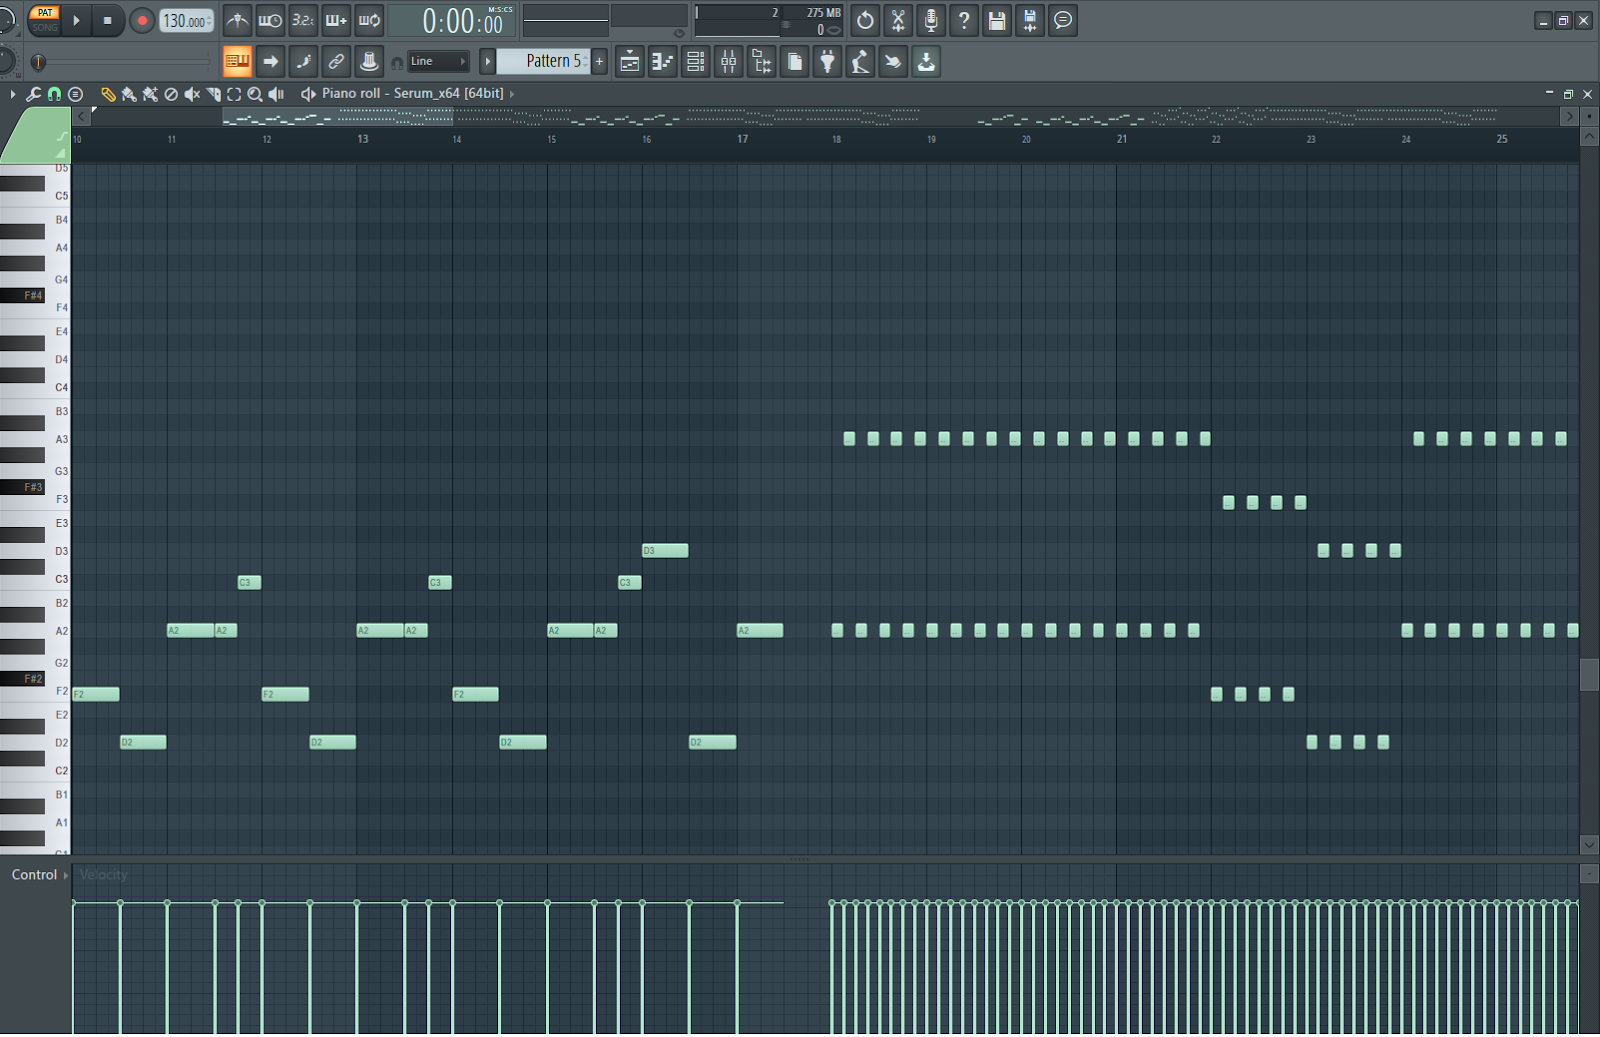
• By now, you should see something like this:
This is the content of the midi file. In this case, it is a simple chord progression.
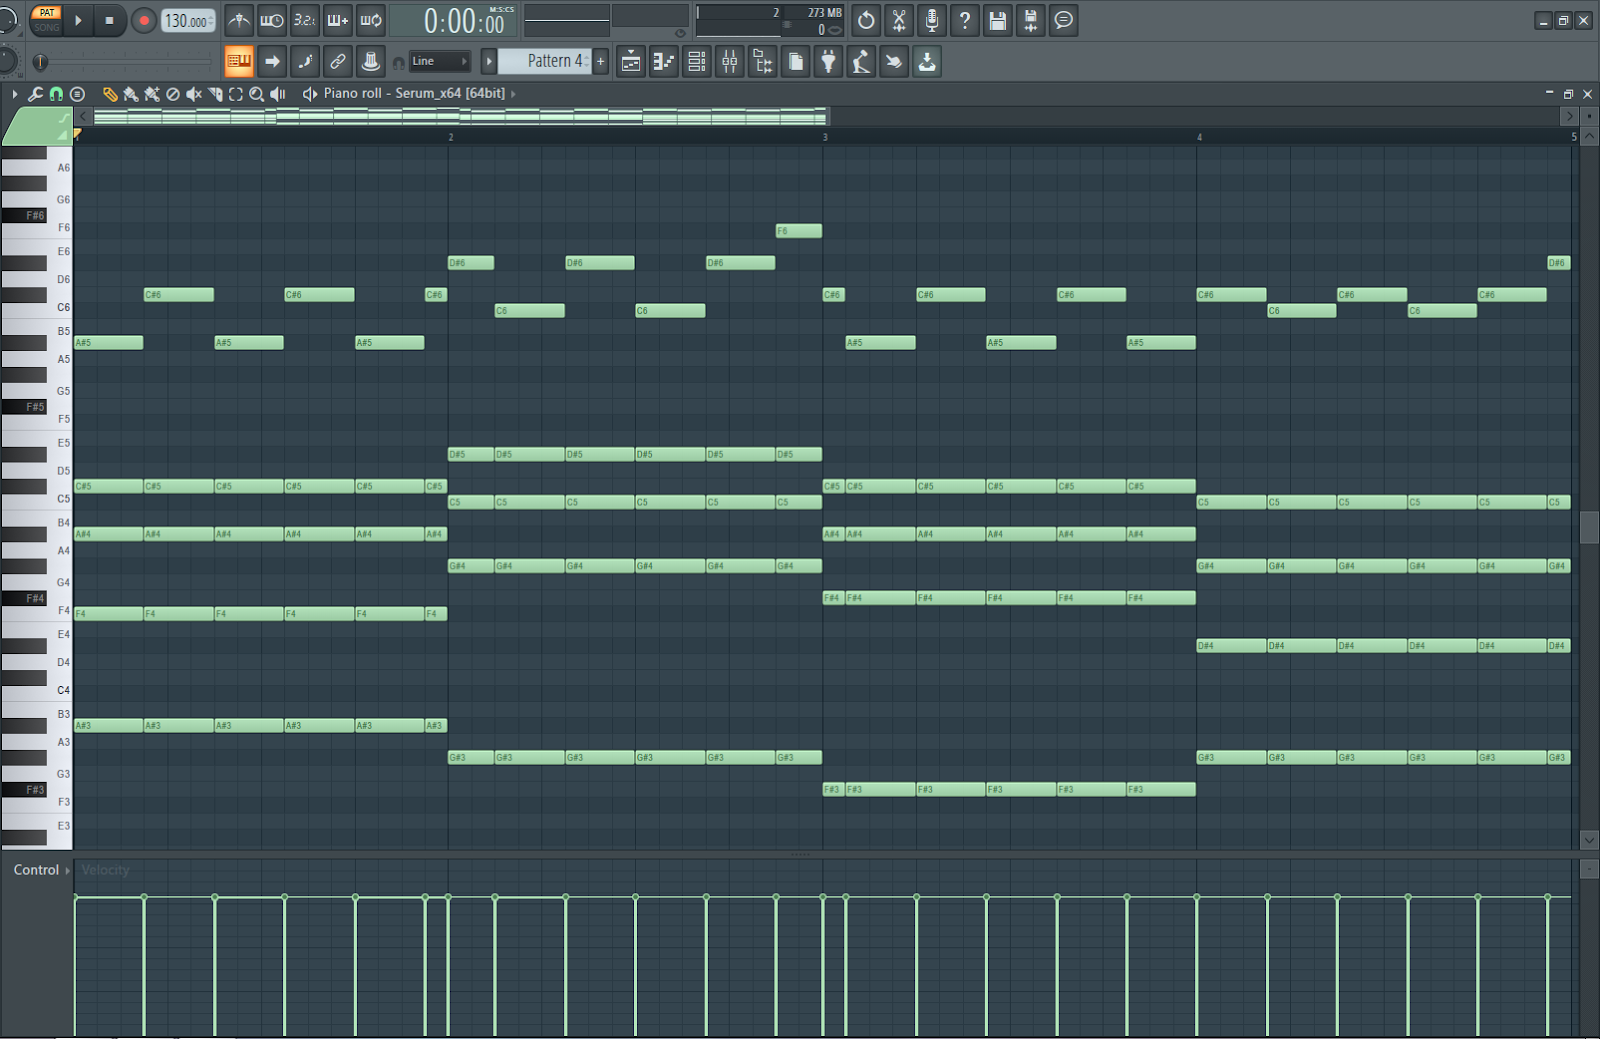
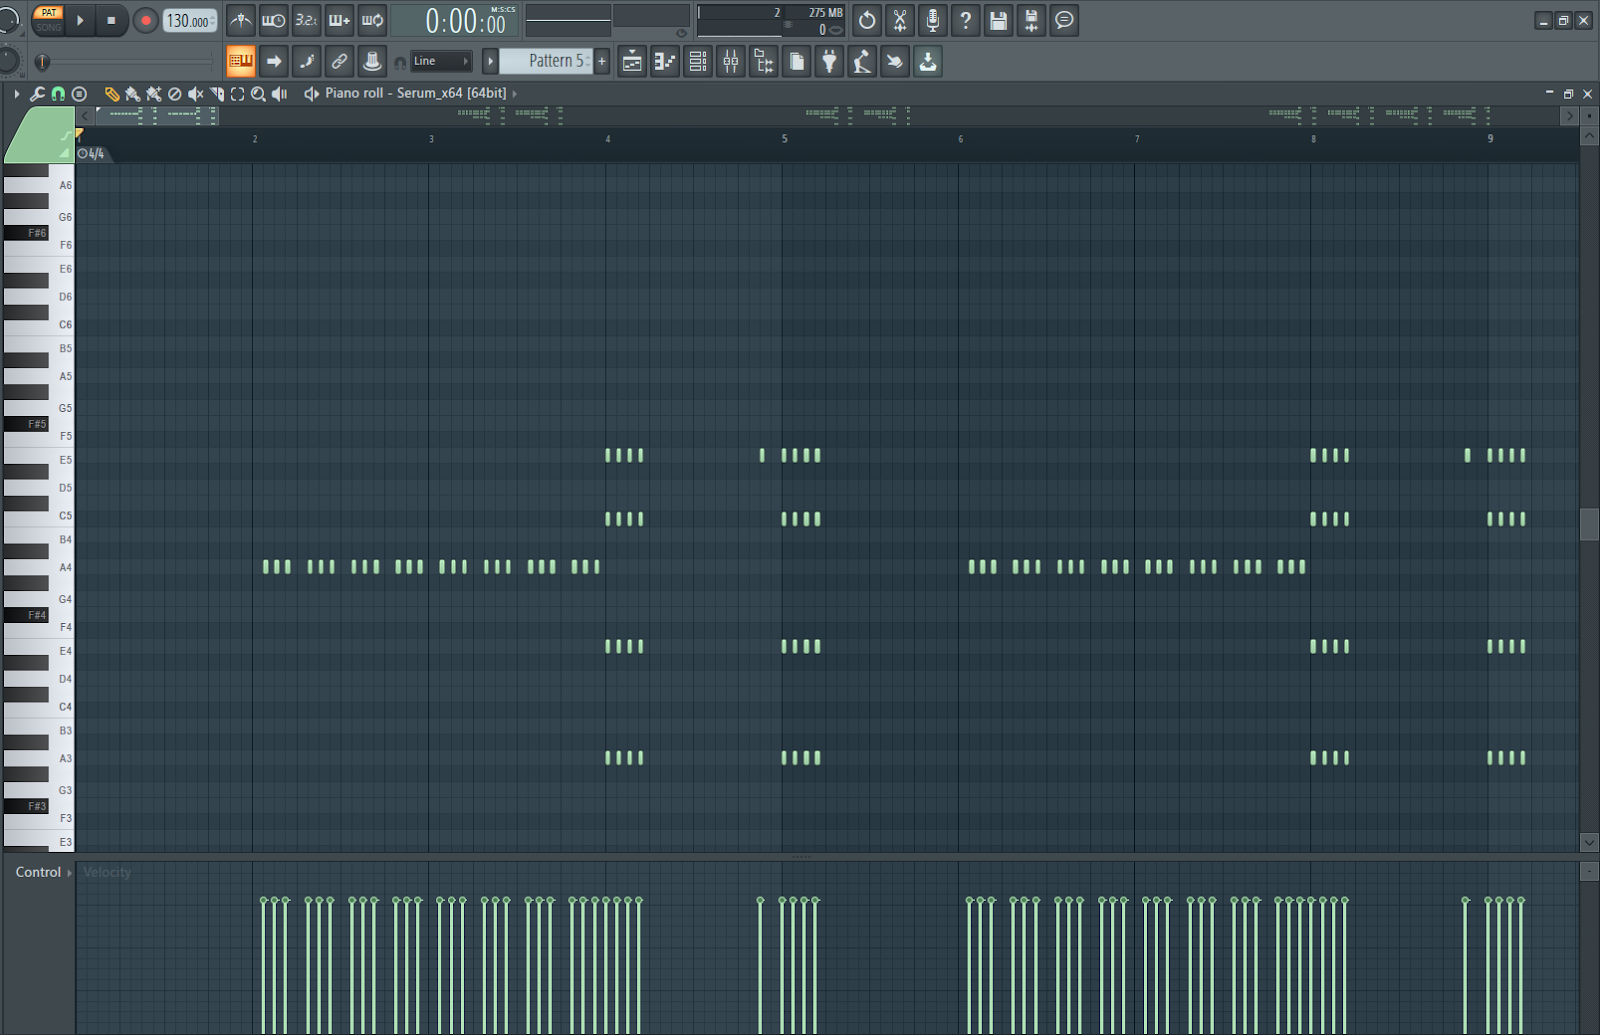
• Now, open the Piano roll by clicking on the green lines in the channel rack.
This is what you should see:
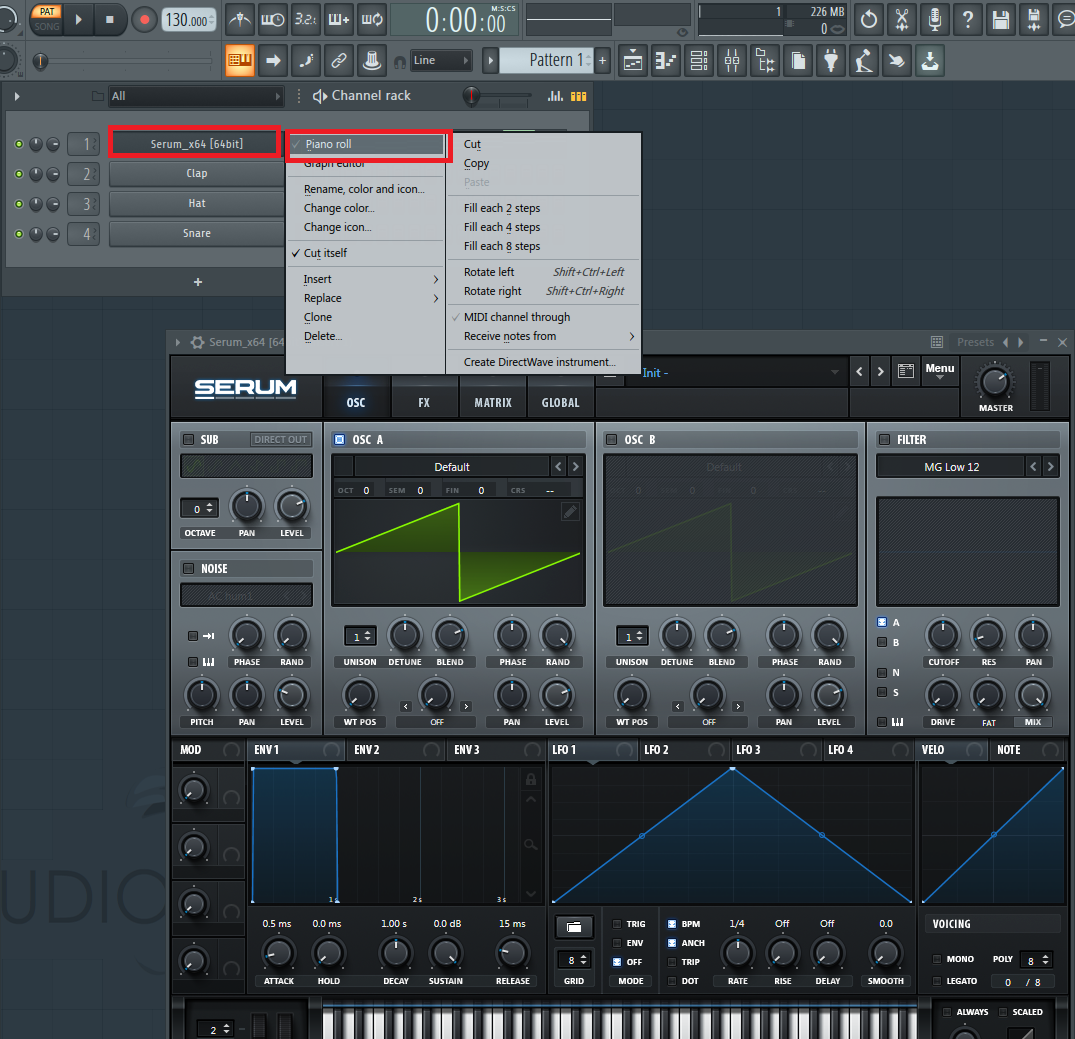
Alternatively, you can also just right click on your VST in the channel rack and click on the ‘Piano roll’ tab.
Step 4:
When it comes to using your midi files in FL Studio, you will sometimes see something like this:
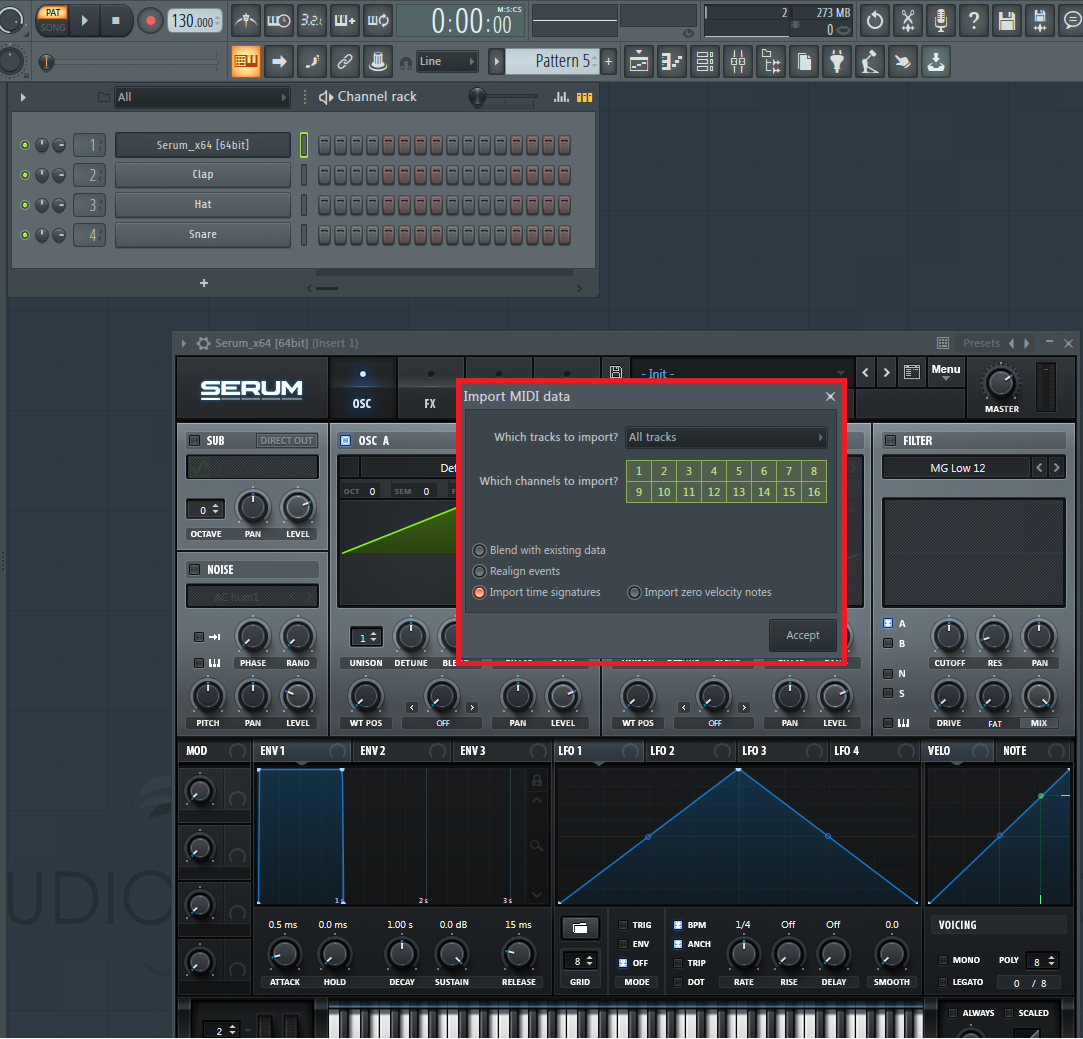
Because some midi files will contain every single note and drum beat of a song, they are divided into their respective parts (especially when it’s a complex and big project).
In this example, I am using a midi file from the song Tuesday by Burak Yeter and Danelle Sandoval.
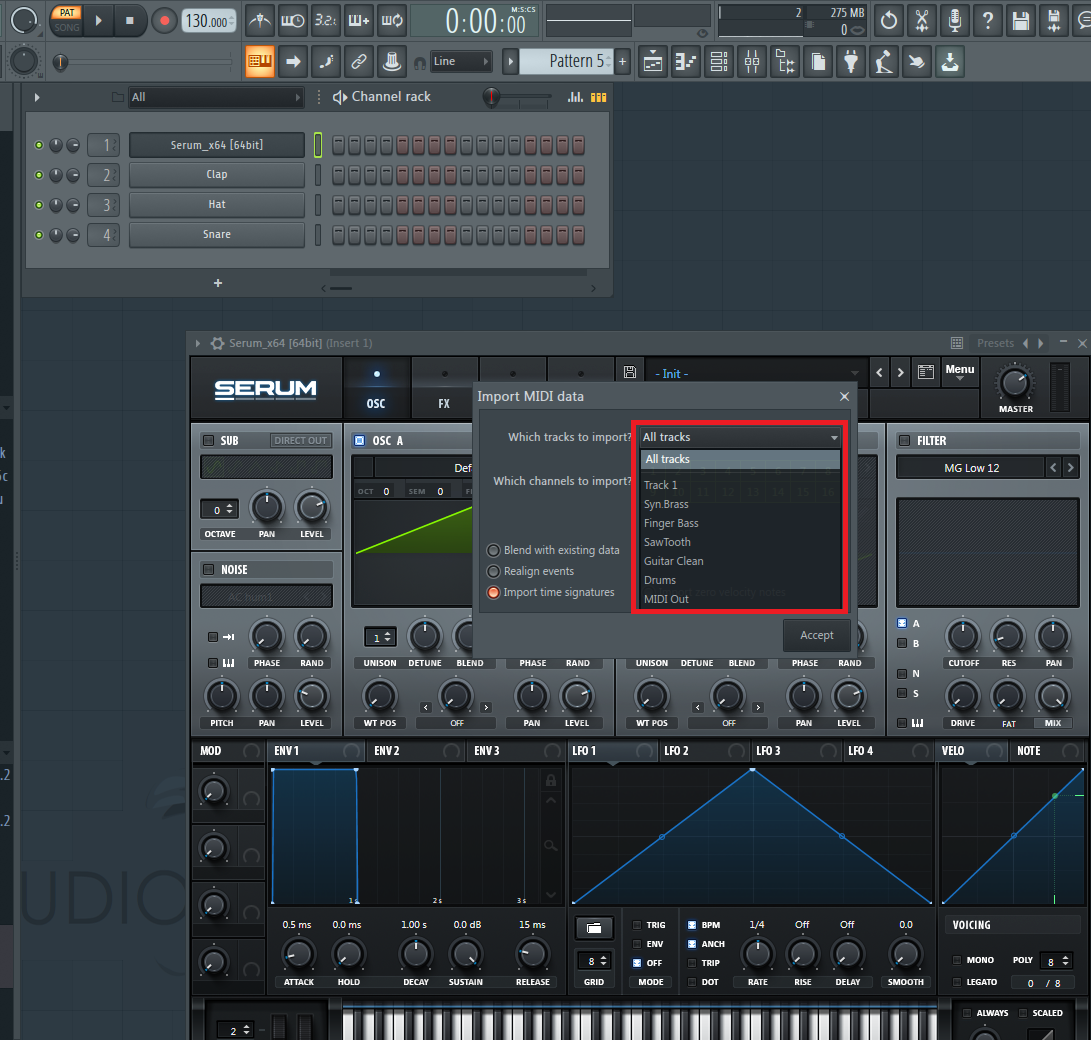
On the ‘All tracks’ tab, you see a list of the instruments, melodies, bass lines, etc. that have been used in this song and when I choose the Synth Brass of this midi file, it will automatically load this one part of the song into the piano roll.
This is how it’s going to work with every other part of the song.
So when you just want the bass line in your piano roll, simply choose ‘Finger bass’ in the ‘Import MIDI data’ window and under the ‘All tracks’ tab.
Please note that you will have to drag and drop your midi file into your VST in the channel rack every time you want to switch the synth brass with the finger bass for example.

To not have to limit your Piano roll to just one VST, simply open your VST in a new tab in the channel rack.
To do so, right click on your VST in the channel rack, choose ‘insert’ and click on the VST of your choice.
Step 5:
All you need to do now is to choose either a bass, a pluck, a lead, a chord, a pad or whatever you like in your VST.
For serum, it works like this:
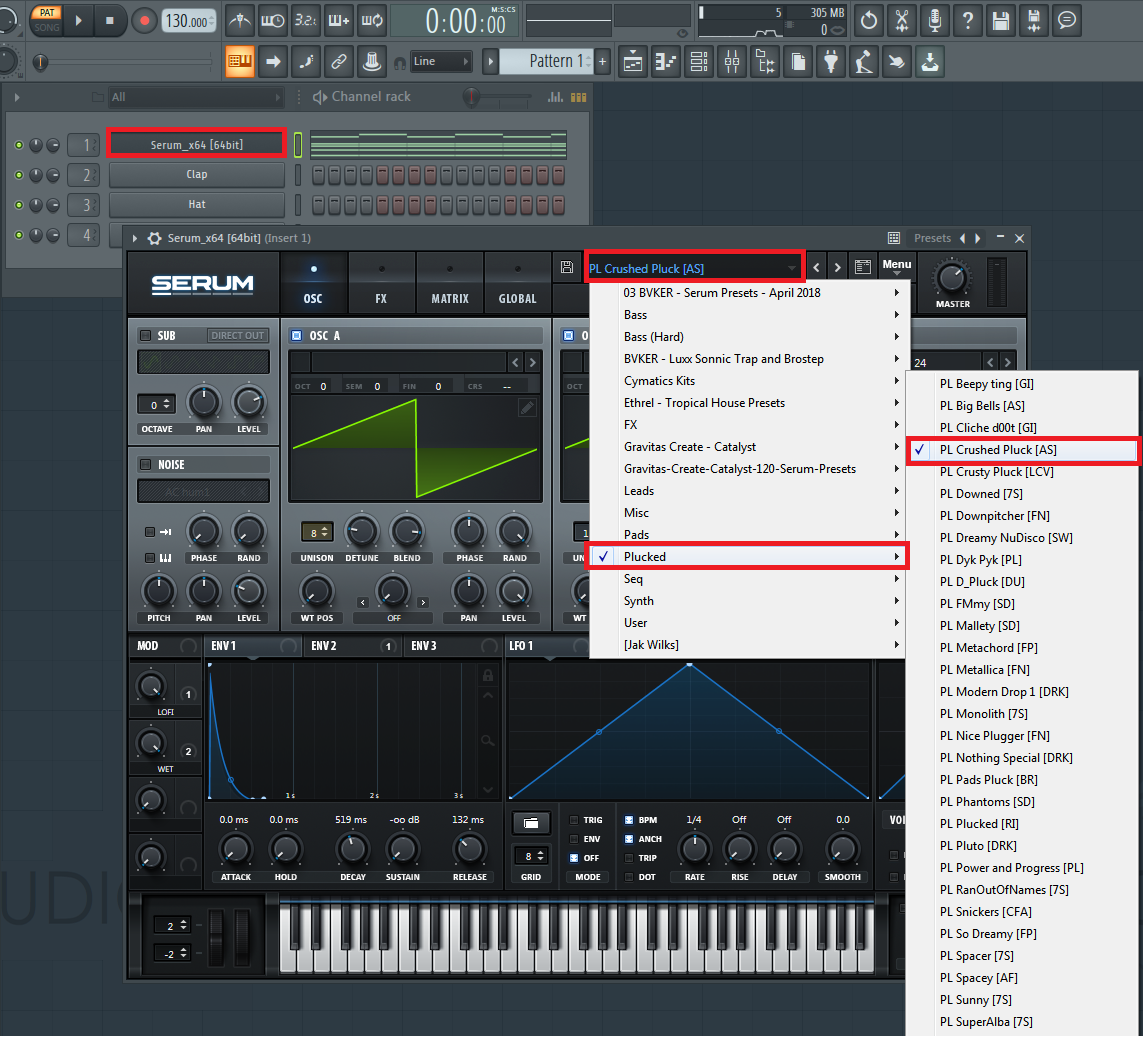
• Left click on your VST in the channel rack to open it.
• Click on the ‘-init-‘ tab and choose what type of synth or bass you want to use. In this case, I will use a simple pluck for the chord progression I imported earlier.
All you need to do is now to hit the play button and listen to whatever part of the midi file you have imported.
To end this guide, here are some additional tips when it comes to importing and using midi files.
BONUS Tips For Using MIDI files!
1. Use them to learn about the structure of songs.
Because knowing how to structure your bass line or how to create the latest and hottest chord progressions can turn your song from mediocre and boring to catchy and energetic in no time.
2. Don’t be afraid to experiment.
If you have some ideas about a new melody, want to remix or remake a song, do whatever you feel like doing. Be as crazy about it as you possibly can and don’t hold back. Let your creativity flow freely.
Keep in mind that there are no rules when it comes to music production. Pretty much anything can be turned into a catchy and energetic song if you know how to do it.
3. Let midi files inspire you.
As I said at the beginning of this guide, midi files are a great tool for beginners and veterans of music production because they can give you some much needed inspiration when you just can’t make up a new melody from scratch or experience the dreaded ‘writer’s block’.
4. Consider buying midi sample packs.
Nowadays, there is an overabundance of them out there on the internet and they are also pretty cheap. For example, you can get a pack of 50+ midi files of the EDM genre for as little as 10 bucks! Just Google for them and you will find them.
Thank you for your reading. Join the conversation by posting a comment.