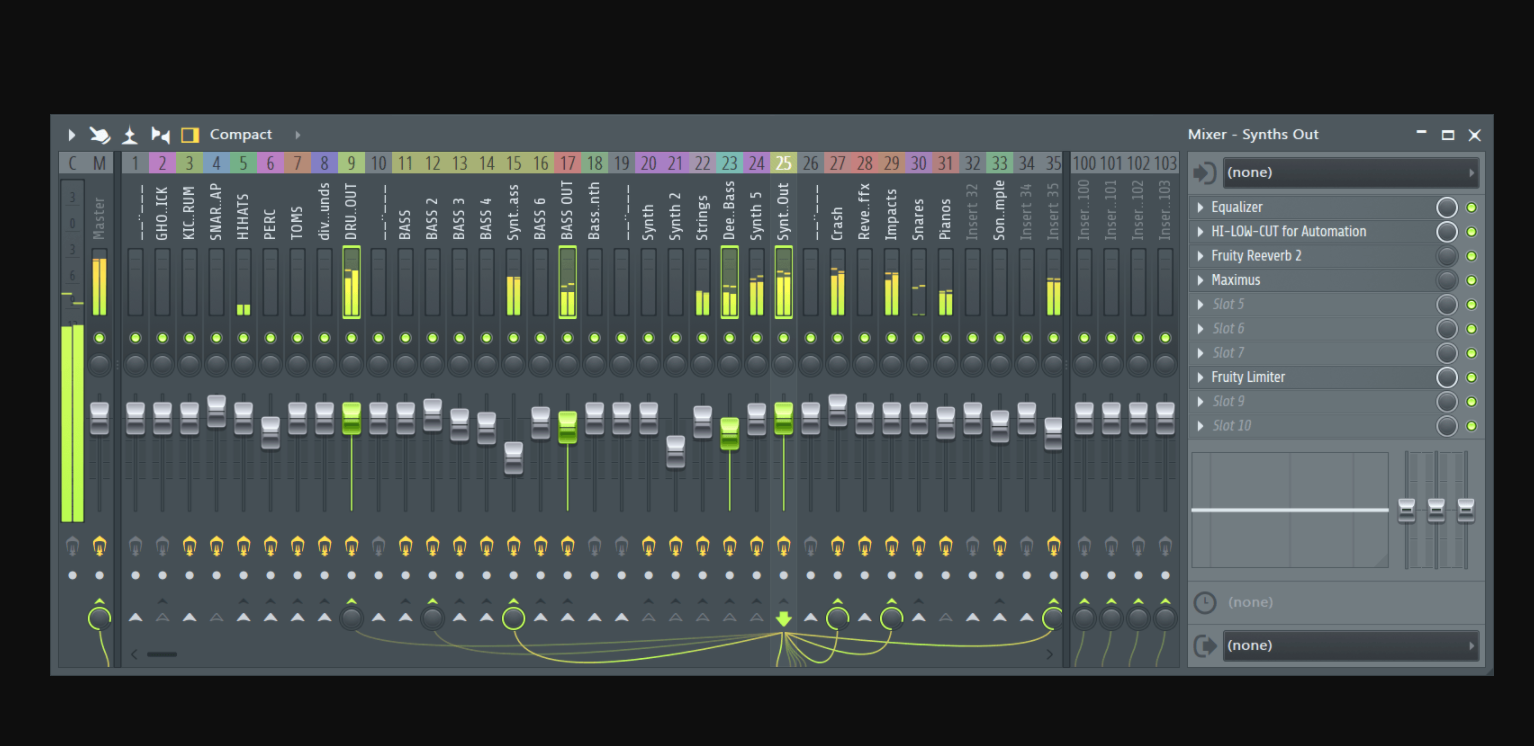
When producing music, the project usually gets messed up and chaotic really fast. When creativity hits it is really hard to manage every element and keep your DAW project clean.
In order to keep the project clean and make the mixer track empty when it is not used anymore, follow my instructions here, on how to do it fast.
Delete Mixer Track In FL STUDIO
- Open Mixer
- Select mixer track you want to reset
- Press right-click with the mouse
- Press reset selected track(s) to default

After clicking it there will appear warning with message:

So then just click Ok
And Voila! Your mixer track will be reset to default, channel plugins will be deleted and track name will be reset.
Reset Multiple Mixer Tracks With One Click
- Open Mixer
- Select multiple mixer tracks you want to reset by holding CTRL and holding mouse left click and dragging it over the channels that you want to delete.
- Press right-click with the mouse
- Press reset selected track(s) to default
Video Tutorial On How To Delete Mixer Tracks
To follow these steps more easily, I’ve made a video, so you could follow along and implement these steps
Reasons To Reset Your Mixer Inserts
Third-party plugins usually cost A LOT of CPU. A few plugins per track might not look so much. However, when a track builds, plugins add up quickly which causes to latency problems and it becomes not possible to work with your tracks smoothly.
So the main reason to reset your mixer tracks is to keep your project CPU usage as small as possible.
Secondly, it is much more manageable to work, when there is no necessary mixer fields, and everything is in its place, so you can work faster, and there is no second guessing which mixer tracks to use.
Conclusion
So make sure to keep your mixer track clean and reset all the unnecessary tracks and inserts from your mixer with ease.
I hope this post was helpful, see you next time!


Thank you for your reading. Join the conversation by posting a comment.